


Quick Answer
Simple lamp swaps may be possible for some users, but fixture replacement, wiring changes, ballast bypass, emergency circuits, and outdoor work may require a qualified electrician.
Installing LED Lights
LED lighting installation should begin with safety, compatibility, and a clear layout. Before replacing fixtures or lamps, confirm voltage, mounting, driver requirements, dimming, wet-location rating, circuit load, and whether a licensed electrician is required.
What to Check First
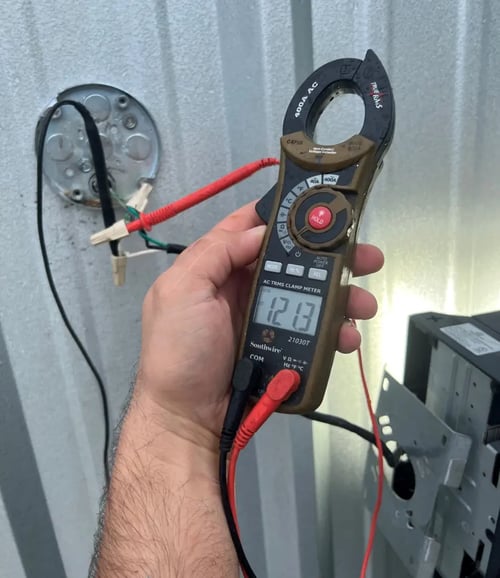
- De-energize and verify circuits before work begins; use qualified help where required.
- Confirm voltage, load, controls, mounting hardware, and environmental rating.
- Label settings, wiring changes, and fixture locations after installation.
Application Decision Table
| Use Case | Practical Guidance |
|---|---|
| Lamp swap | Check fixture compatibility, heat, ballast bypass requirements, and listing. |
| Fixture replacement | Check mounting, branch circuit, controls, and weight. |
| New layout | Use a photometric plan and electrical review before purchase. |
Common Mistakes to Avoid
- Buying by wattage, fixture name, or marketing claims without checking delivered light and layout.
- Skipping controls commissioning, documentation, or final aiming after installation.
- Ignoring glare, maintenance access, code requirements, environmental ratings, and user comfort.
Installation Difficulty Is Mostly About Risk
Installing LED lights ranges from simple lamp replacement to work that requires a licensed electrician, lift equipment, permits, or engineered mounting. The deciding factors are voltage, wiring changes, ballast bypass, fixture weight, height, wet-location exposure, controls, emergency circuits, and whether the work affects a public or commercial space.
| Install type | Typical risk level | What to verify |
|---|---|---|
| Twist-in lamp | Lower | Base, voltage, fixture rating, heat, and dimmer compatibility. |
| Ballast bypass | Medium | Wiring diagram, tombstones, disconnects, labeling, and code compliance. |
| High bay or canopy | Higher | Mounting hardware, fall protection, voltage, controls, and lift access. |
| Poles or sports lights | Professional | Structural load, aiming, surge protection, grounding, and photometric layout. |
Understanding the Spectrum of Installation Difficulty
LED installation ranges from tasks anyone can handle to projects that need a licensed electrician. Success comes down to planning, confirming the power supply and the LED are compatible, and picking the right product for the job. The specific light or bulb you choose largely sets the difficulty: many LED kits ship with connectors and a power supply for easy install, while others need added sockets or wiring that call for an electrician. Below we rank common installs from easy to difficult.
Easy to Install
Twist-in LED bulbs. The easiest of all - align the tabs, insert, and twist to lock. Match the E26 or E39 base and the Kelvin color for compatibility and the look you want, and remove any plastic mounting collar before installing.
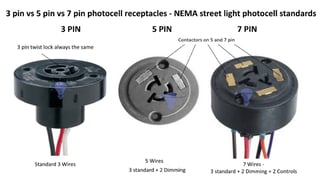
Adding controls. Twist-in photocells and 3-wire photocells for wall packs are relatively easy - just follow the guidelines, and see how NOT to install a photocell to avoid the common mistakes. Simple on/off switches are a step up, medium difficulty.
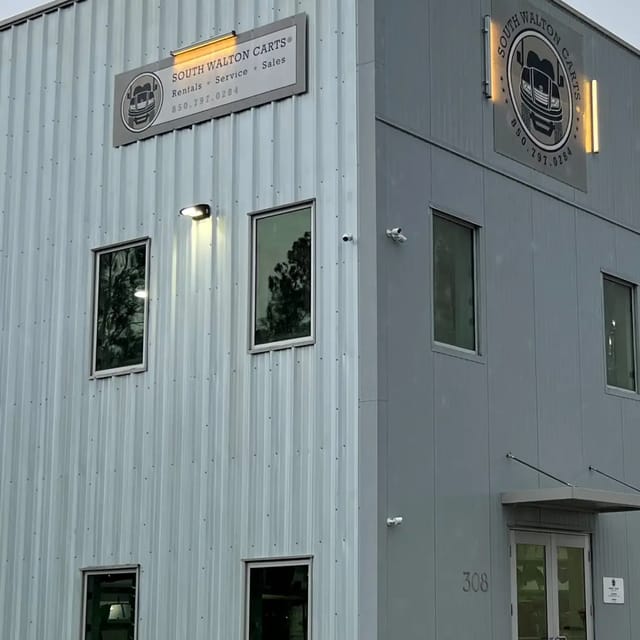
Junction-box lights. Security motion floodlights and porch lights are DIY-friendly: connect a few wires and secure the fixture with screws. Pro tip: rest the fixture on a small temporary shelf on your ladder while you make the connections - faster than fighting with the mounting straps.
Medium Difficulty
Wall lights. Moving from halogen to LED wall lights is straightforward if done carefully: remove the cover, drill the mounting holes, secure with screws, connect the wires with proper insulation, and reassemble.
Solar lights. Moderately easy, but professionals are worth it for optimal function and safety: mount the solar bracket on the pole top, bolt on the panel, and follow the wiring diagram to connect panel, controller, battery, and lamp. Wear gloves, rubber-soled shoes, and a hard hat, since this is often public-space work.
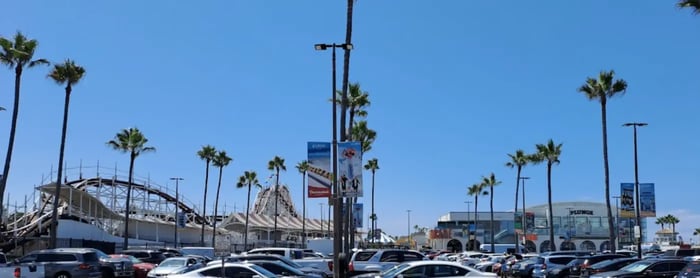
Parking-lot replacements. Switching to LED parking lot lights brings big energy savings, better safety, and lower maintenance. Reusing existing mounting points is relatively simple; new mounts and rewiring add cost and complexity. Use a lift to reach pole-top fixtures safely, mind the fixture size and weight, and keep a second person on site. See our parking lot install case study.
Canopy lights (gas stations and outdoor venues), UV-C sterilization lights, and landscape lights also fall in the medium range, each needing care at height or precise placement.
Medium to Hard
LED corn lights. Turn off the circuit, remove the old bulb, bypass the existing ballast if present, set the screw base to neutral, and carefully screw in the corn light.
LED high bay lights. Two methods - hang and bracket - with hang being the most common: install the hook, attach the hanging ring to the back cover, clip the ring into the hook, wire it with attention to insulation and waterproofing, then test. Use safe means to reach the mounting height.
Stadium lights. The real challenge is height - you need a large lift rather than the smaller ones used for parking lots. Once you can safely reach the mount, the work itself is relatively straightforward: make solid electrical connections and test.
Difficult to Install
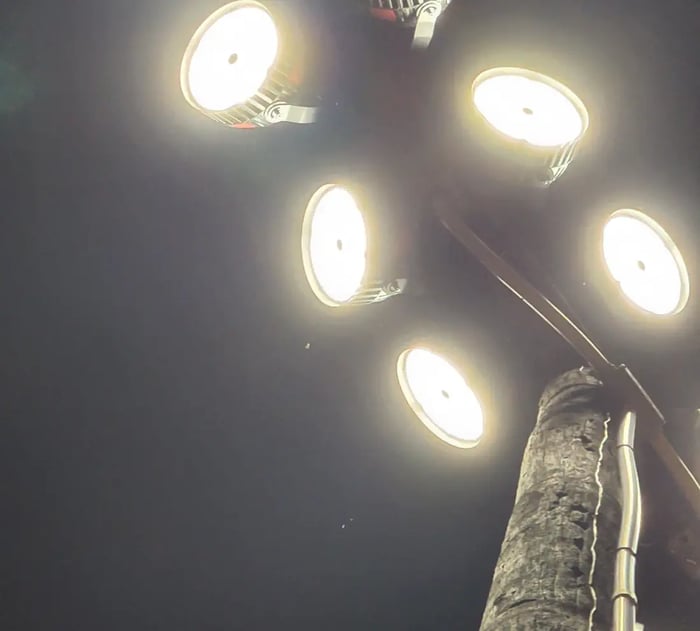
New light poles. This is the involved one, which is why many people replace fixtures rather than install new poles. The sequence: attach the sling to the top of the pole, connect the luminaires and finish the wiring, set anchor bolts with leveling nuts and washers, raise the pole, place it over the anchor bolts and secure with leveling-nut washers, then tighten the anchor nuts once the pole is upright. Never erect a pole without its intended load attached.
More Details to Consider
LED installation difficulty depends on risk. A simple lamp swap may be straightforward, while ballast bypass, fixture replacement, high-bay installation, outdoor work, emergency lighting, controls, and pole lighting usually require qualified electrical work.
Before installation, confirm voltage, wiring method, mounting hardware, fixture weight, environmental rating, dimmer or control compatibility, access equipment, and whether permits or licensed professionals are required.
Good installation ends with commissioning and documentation. Label settings, test controls, verify aiming, record fixture locations, and keep wiring diagrams or product instructions for future maintenance.
Frequently Asked Questions
- Can I install LED lights myself?
- Simple lamp swaps may be possible for some users, but fixture replacement, wiring changes, ballast bypass, emergency circuits, and outdoor work may require a qualified electrician.
- What should I check before installation?
- Check voltage, fixture compatibility, listing, mounting, branch circuit load, dimming, controls, wet-location rating, and access equipment.
- Do LED lights need special wiring?
- Some do. Fixtures, drivers, dimmers, controls, and ballast-bypass lamps have specific wiring requirements that must be followed.
- Why do LED installations fail?
- Common causes include wrong voltage, incompatible dimmers, poor heat management, loose wiring, wrong driver, bad mounting, or skipped commissioning.

Ready to Upgrade Your LED Lighting?
Our lighting specialists can help compare options, confirm light levels, and quote the right products for your project.
Call 800-674-9420 or email [email protected]
Monday-Friday, 8am-5pm PST

About the Author
Dara Greaney is founder and CEO of LED Light Expert with deep expertise in commercial LED lighting, retrofits, and photometric planning.
Editing by David Peguero
1 Comments
Kyle
An excellent and comprehensive guide to understand the importance of meticulous planning and the right tools when it comes to LED lighting installations.
Sales
Thanks for reaching out. We have sent you an email response. Please feel free to reach out to us directly at 800-674-9420 or [email protected] for pricing/quotes or product info at any time


